

Of all the glassware I create, the martini glass is by far the most challenging. While wine glasses, champagne flutes, and beer glasses have more forgiving shapes, martini glasses present a unique set of difficulties because of their wide, cone-shaped bowl and delicate balance. Every step requires extra patience, precision, and attention to detail to achieve a smooth, professional finish.
One of the biggest challenges begins before any resin is applied. Martini glasses must be mounted onto turner poles so they can rotate while the epoxy cures. Unlike many other glasses, the dramatic angle of the martini bowl can make it difficult to secure the glass perfectly level. Even a slight imbalance can affect how the resin flows, leading to uneven coverage or pooling. Getting the glass positioned correctly on the turner is one of the most important steps in the entire process.
The shape of the martini glass also creates challenges during the resin application itself. The steep sides encourage the resin to move quickly, making it more likely to run toward the rim or gather in certain areas. Because the bowl flares outward so dramatically, the resin must be applied carefully and monitored constantly to ensure an even coat. Small adjustments often need to be made while the glass rotates to maintain a flawless finish.
Another factor that makes martini glasses difficult is the exposed rim. Unlike other glasses where slight imperfections may be less noticeable, the broad rim of a martini glass draws attention to every detail. Resin must be distributed evenly while keeping the rim clean and smooth. This requires a steady hand and careful timing throughout the curing process.
The stem adds another layer of complexity. Martini glass stems are often thinner and more delicate than those of other glassware, making them more susceptible to movement while on the turner. Any vibration or shifting can affect the resin pattern and final appearance. Maintaining stability throughout the curing process is essential to creating a high-quality finished piece.
In this 10-step tutorial, you'll see why martini glasses require more preparation, monitoring, and skill than almost any other type of glassware. From properly securing the glass on the turner pole to carefully controlling resin flow across the unique bowl shape, every step plays an important role in achieving a beautiful, handmade result. While they may be the hardest glasses to create, the elegant finished product makes the extra effort worthwhile.
10 Steps to Making Martini Glasses:
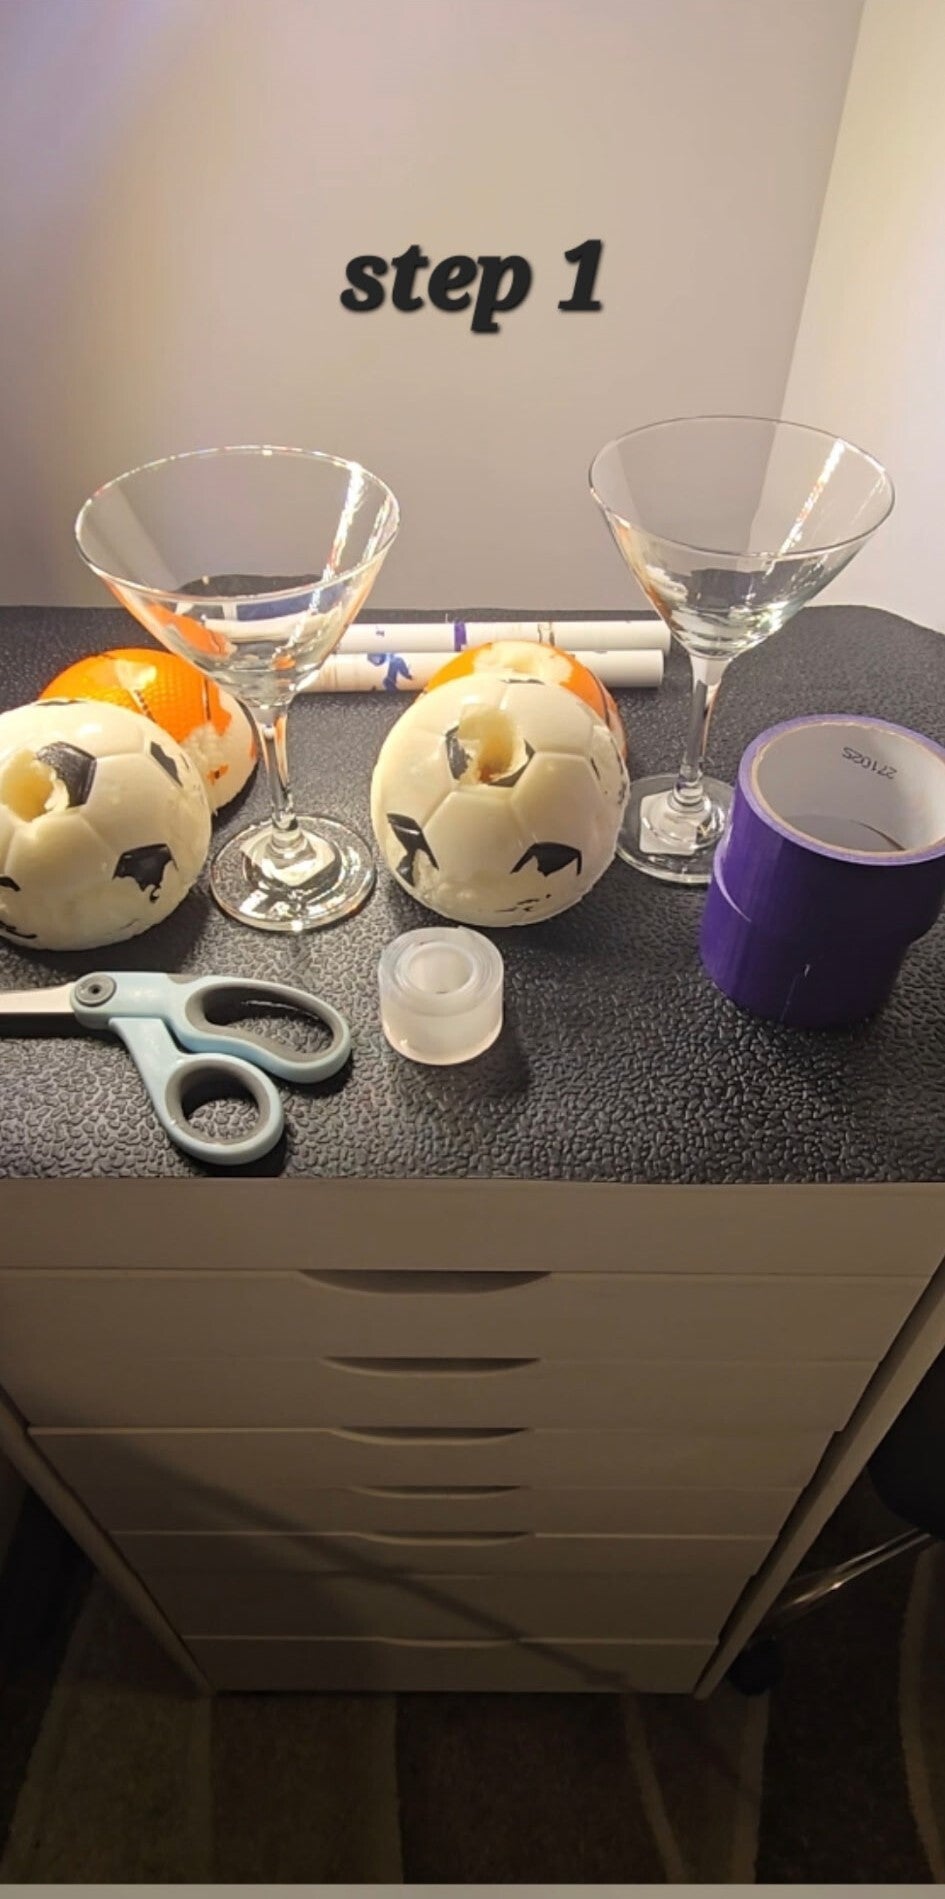
Step 1
Go to your local dollar store and buy a 5-inch round soccer ball or basketball.
Step 2
Cut the ball in half.
Step 3
Make a hole through the center of one half of the ball using the turner hole.
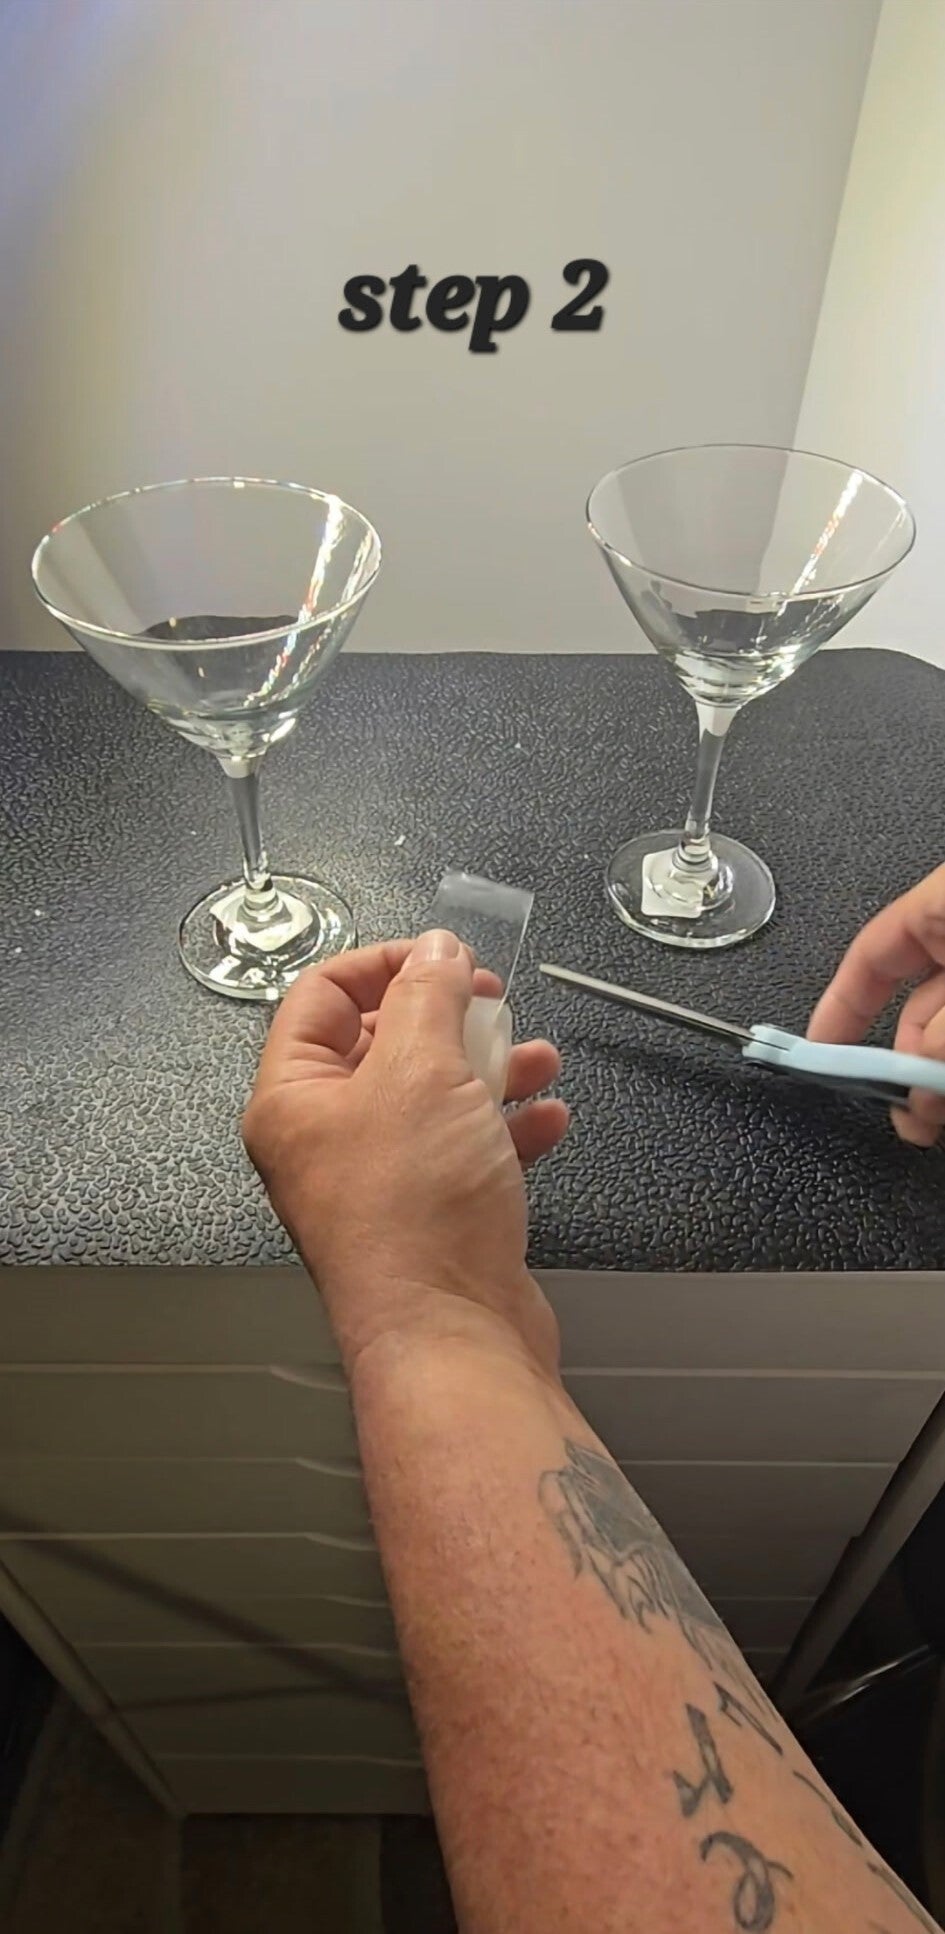
Step 4
Cut four 1-inch square pieces of double-sided sticky tape.
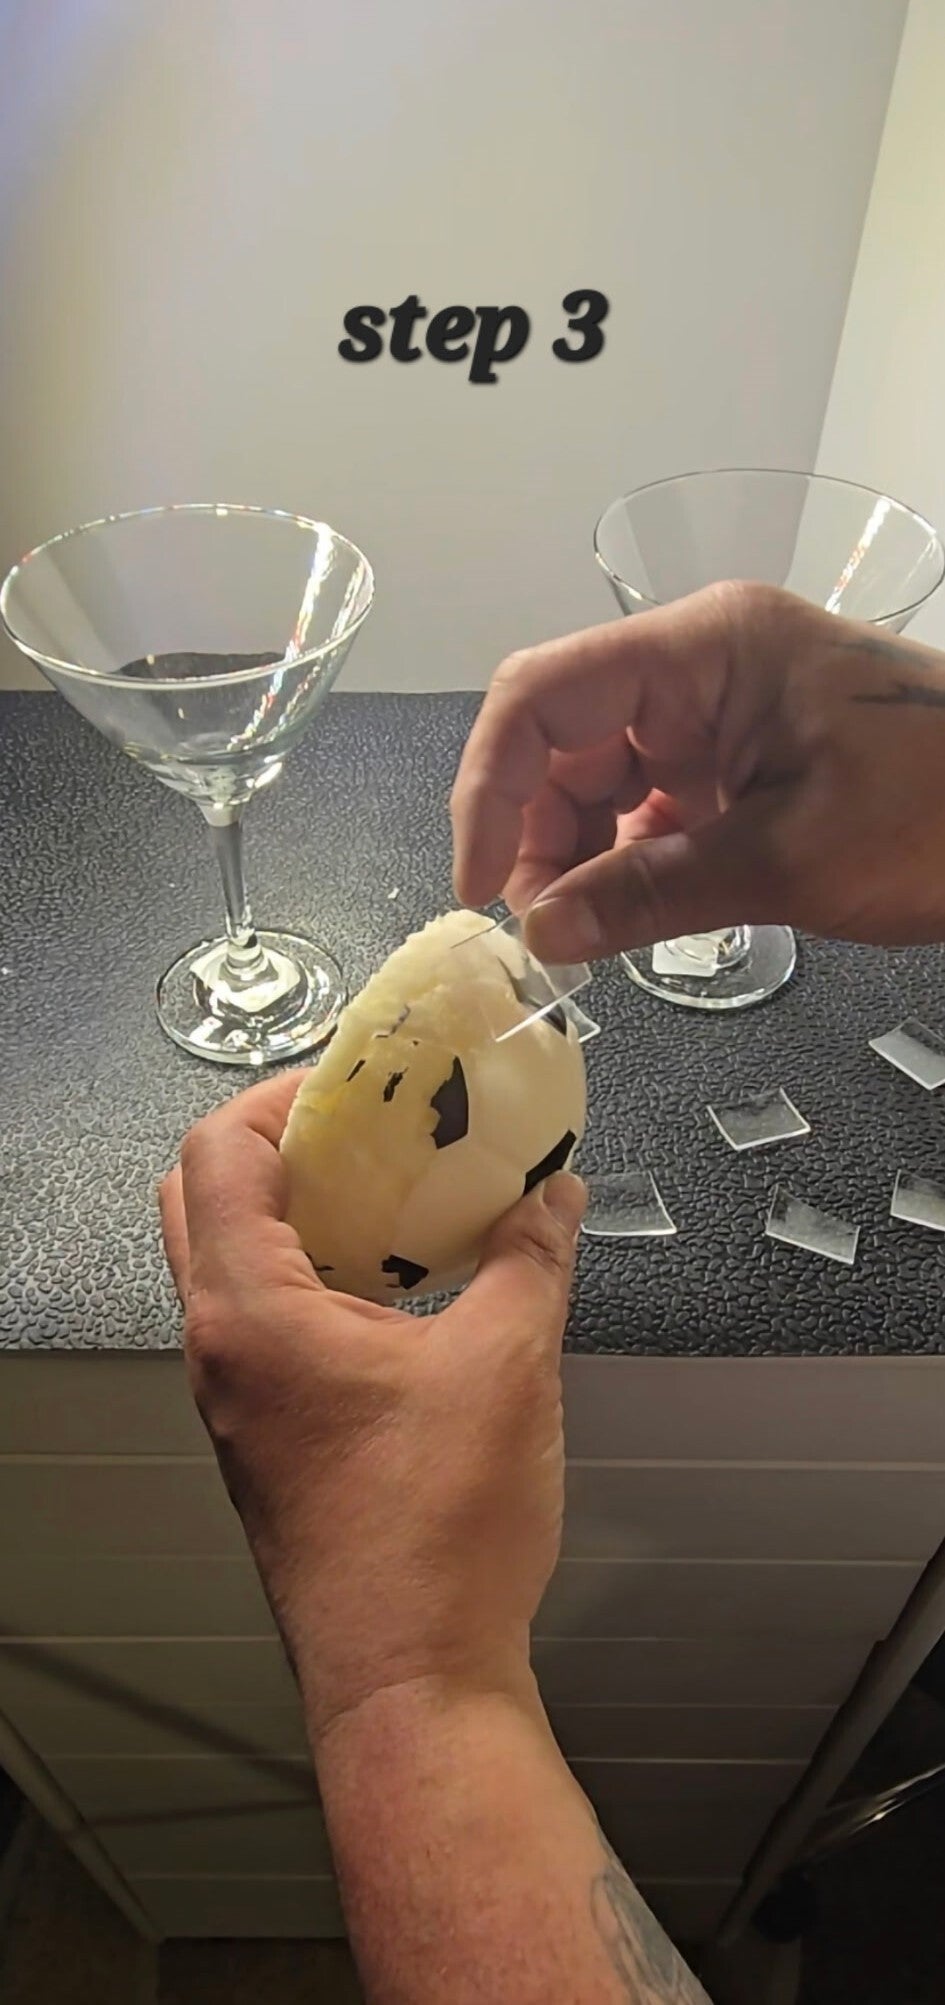
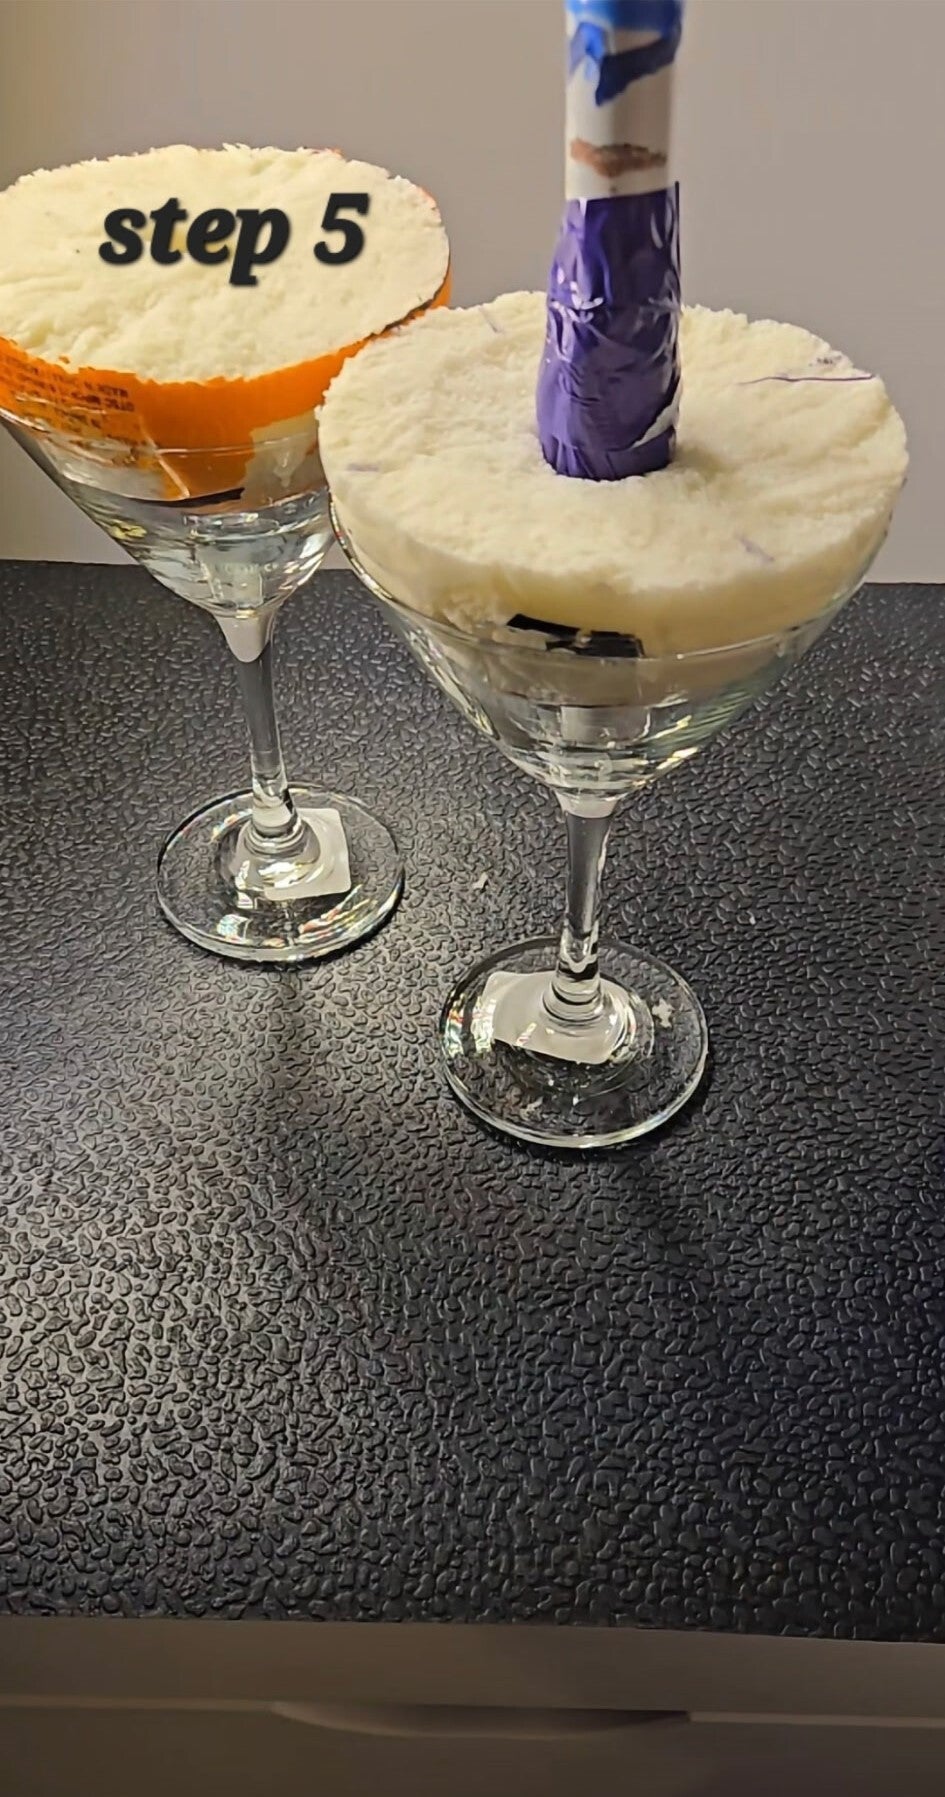
Step 5
Place the four pieces of double-sided sticky tape evenly inside the ball half. Repeat with the other half of the ball.
Step 6
Press the tape firmly into place using your thumb and index finger.
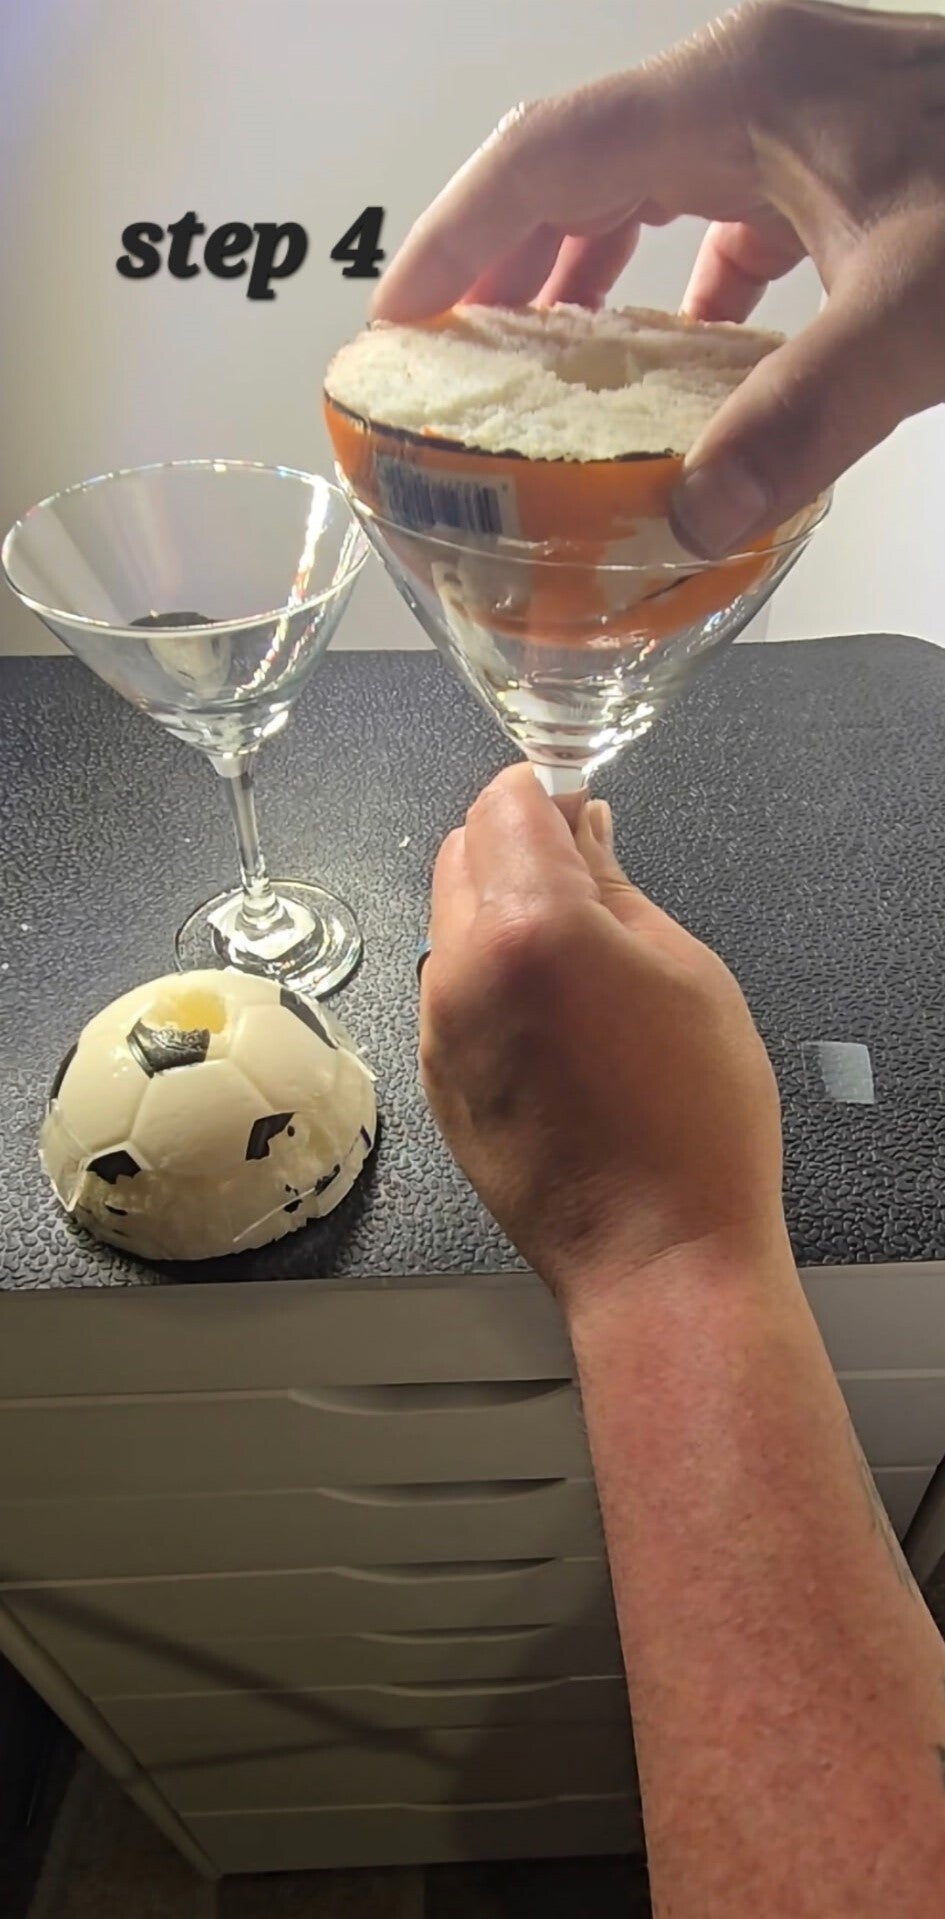
Step 7
Place one half of the taped ball inside the martini glass, making sure the tape is facing the inside of the glass.
Step 8
Insert the turner hole through the center of the ball.
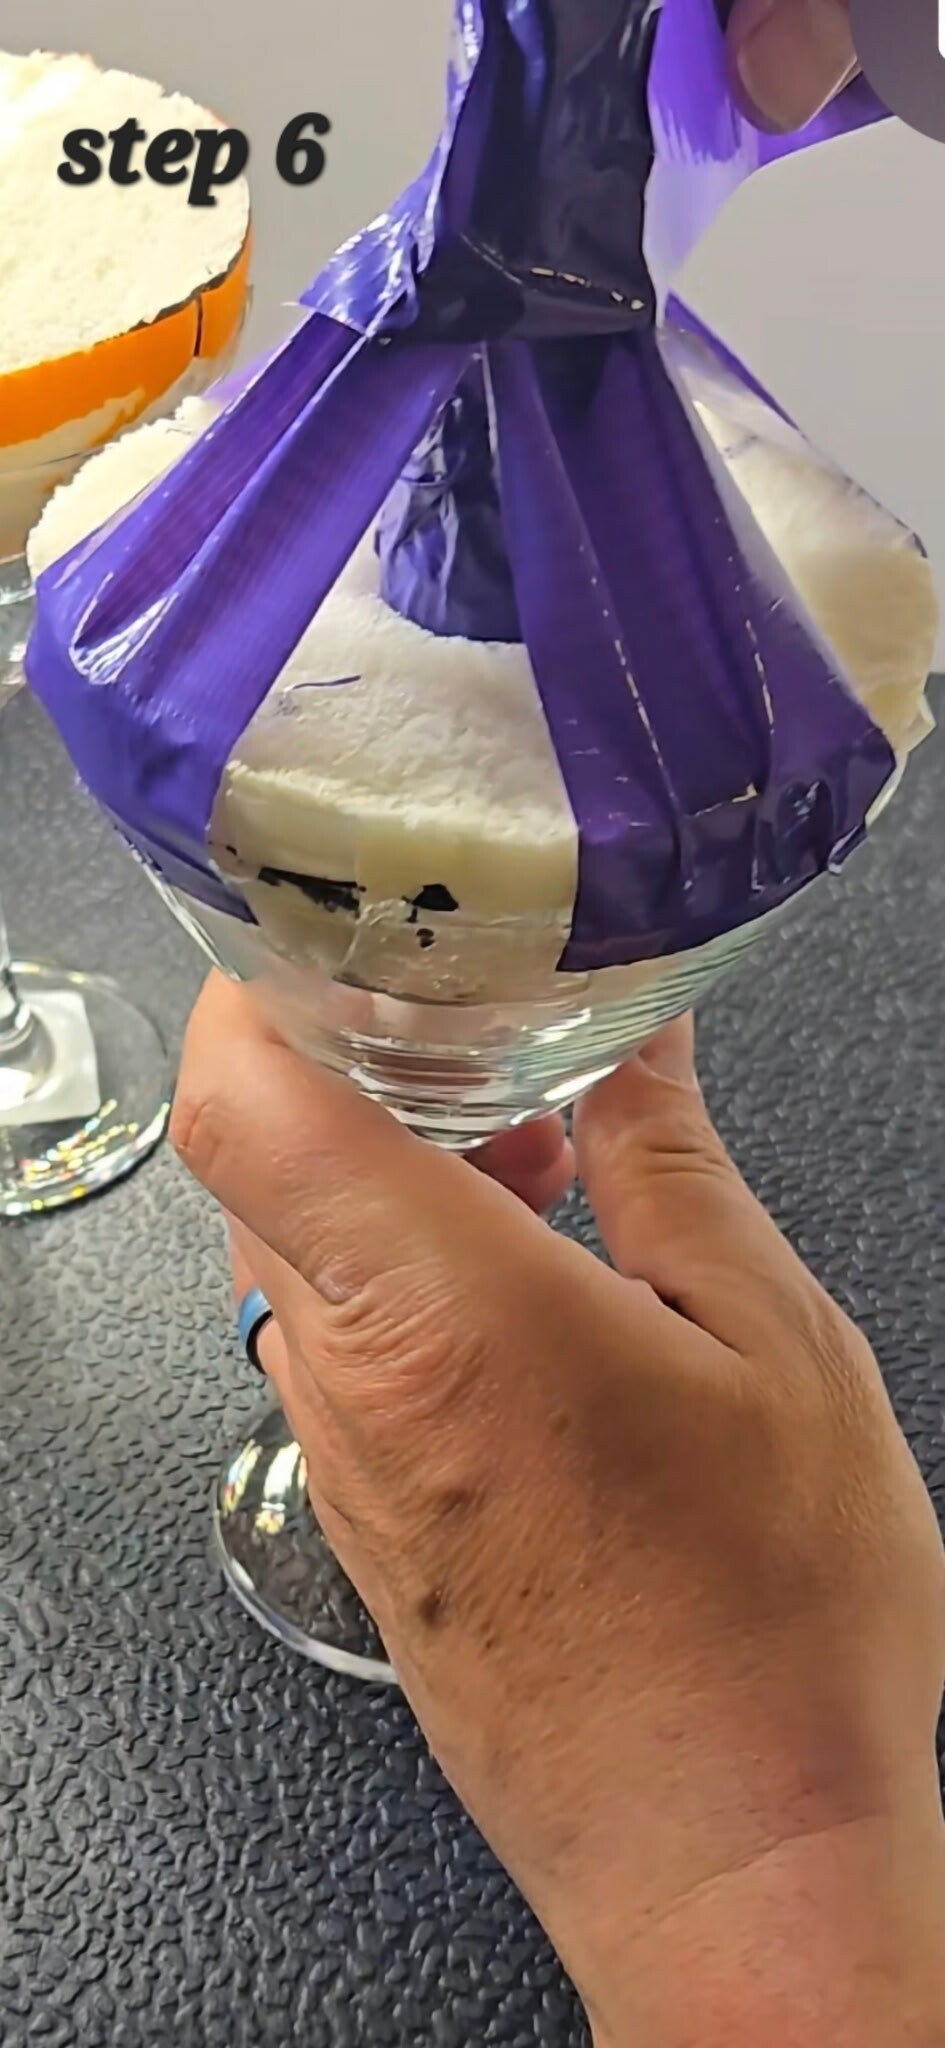
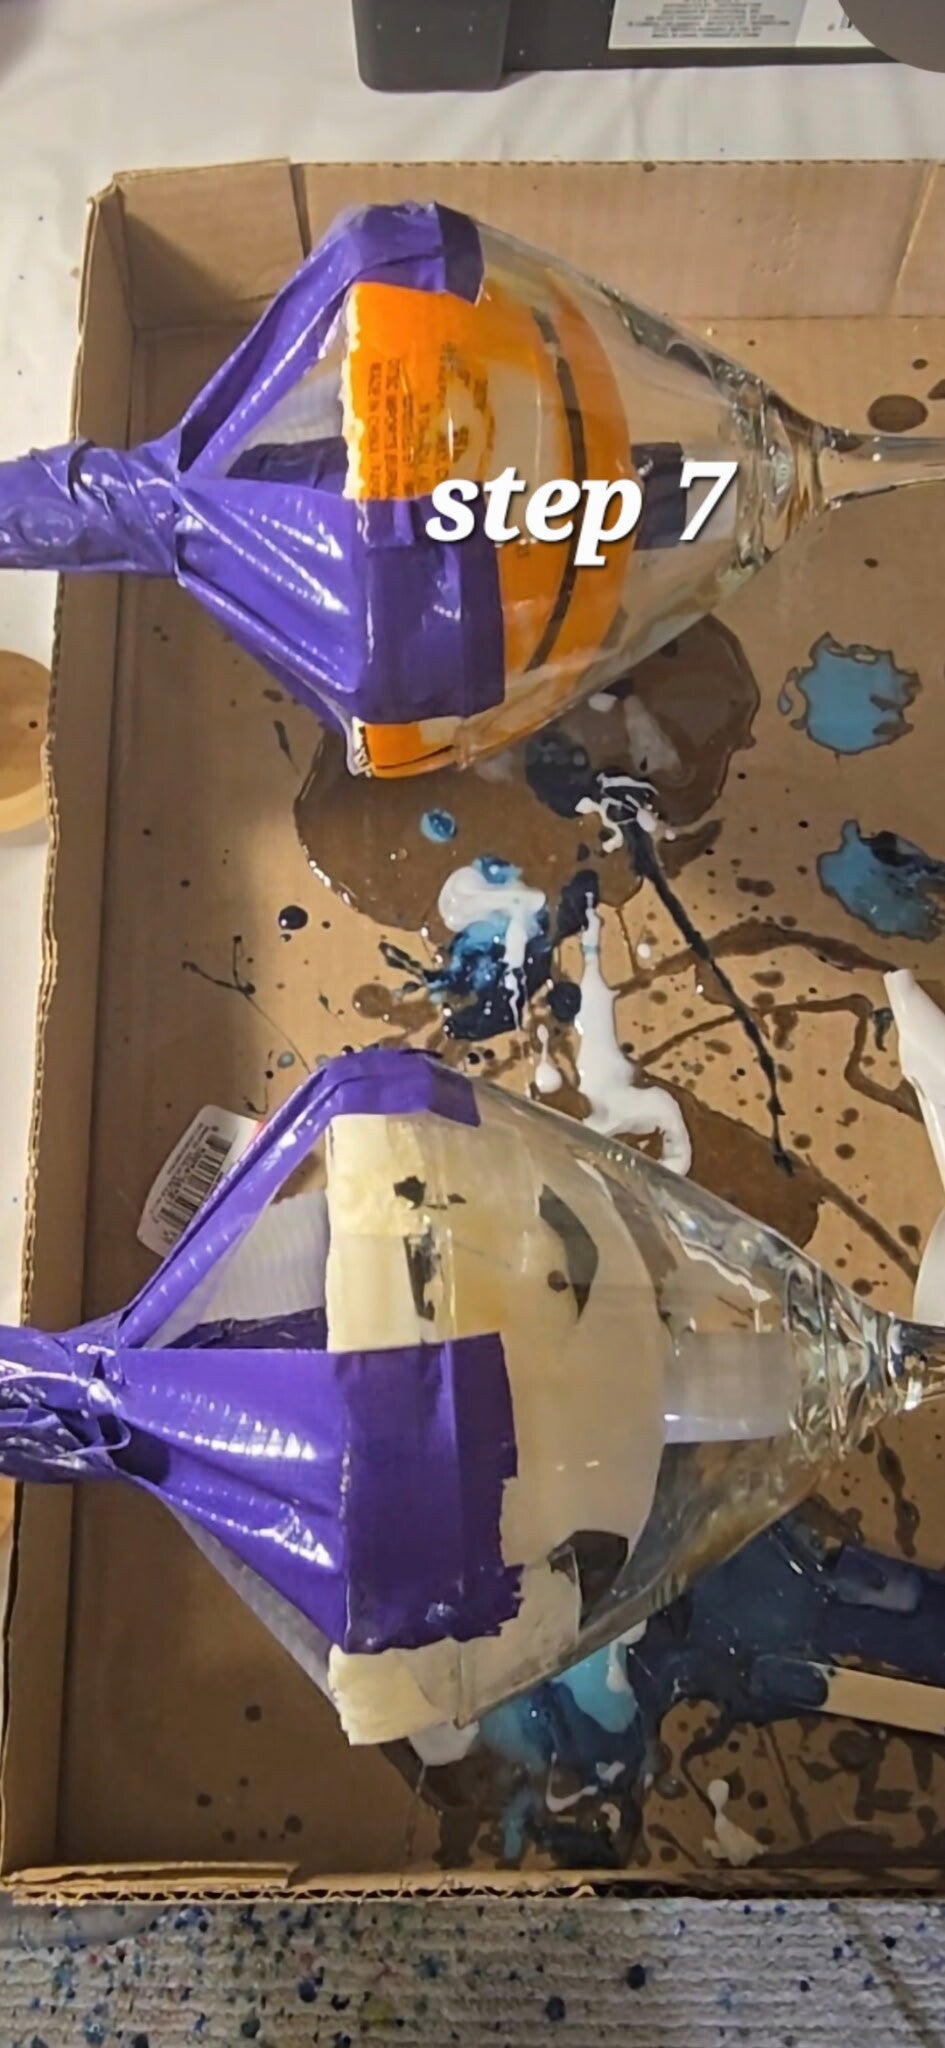
Step 9
Cut four 6-inch pieces of duct tape and place each strip across from the other, securing them from the center pole to the edge of the glass.
Step 10
Cut one additional 6-inch piece of duct tape and wrap it around the center pole to secure the other pieces of tape.
Add comment
Comments